Getting Started
This guide shows you how to convert skeletal mesh animations to vertex animations and implement them in your project.
Workflow Overview
Section titled “Workflow Overview”Create VA Asset → Choose Component → Single Character or Multiple Characters → Configure Animations
If using multiple characters, use the Crowd Tools to place and manage instances before configuring animations.
Step 1: Create VA Asset
Section titled “Step 1: Create VA Asset”
- Right-click your skeletal mesh in Content Browser
- Choose animation type:
- Make Bone Animation: While this method enables animation sharing between multiple meshes and accommodates more animations and vertices than Vertex Animation, it is not as performant. Best for memory-flexible projects where you need to share animations across different characters.
- Make Vertex Animation: This method is more performant with lower material costs but requires larger textures. Animations are unique per mesh and cannot be shared. Best for maximum FPS in crowd scenes.
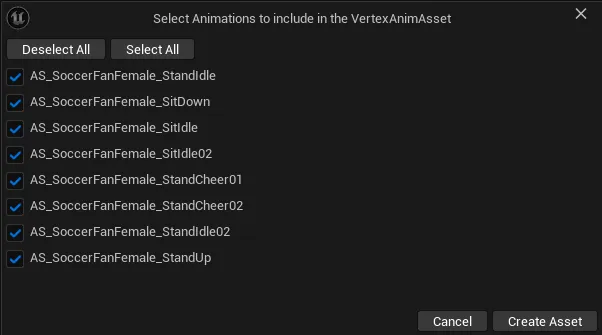
- Select animations to include in your VA Asset Collection
- Click “Create Asset” and choose save location
What is a VA Asset Collection?
Section titled “What is a VA Asset Collection?”A VA Asset Collection is the core asset that stores all data required for vertex animations. Learn more about what it contains in the VA Asset Collection documentation.
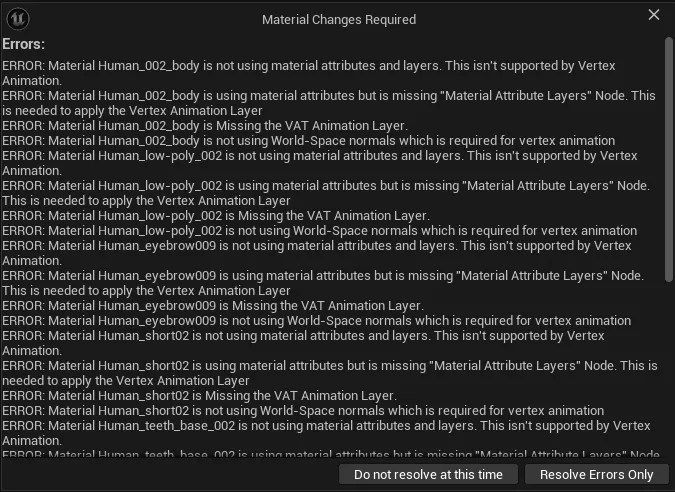
Step 2: Fix Materials
Section titled “Step 2: Fix Materials”Since vertex animations work differently than skeletal animations, your materials need to be modified. A dialog will appear showing any material errors:
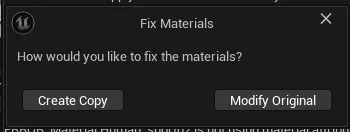
When resolving material errors, you’ll have two options:
- Create Copy: Creates duplicates of your materials before making changes (recommended to preserve originals)
- Modify Original: Directly modifies your existing materials
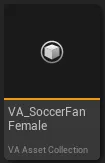
After completing these steps, you’ll have a new VA Asset Collection in your content browser:
Step 3: Configure Asset (Optional)
Section titled “Step 3: Configure Asset (Optional)”Double-click your VA Asset Collection to open the editor and adjust settings:
- Animation Settings: Frame rates, compression, optimization - Learn more
- Mesh Settings: LODs, vertex limits, texture sizes - Learn more
- Custom Data: Per-instance variations like color tints - Learn more
Click “Rebuild Asset” after making changes to apply them.
Step 4: Choose Implementation
Section titled “Step 4: Choose Implementation”
- Single Character: Use VA Mesh Component for individual characters needing precise control
- Multiple Characters: Use VA Instanced Mesh Component for crowds and multiple characters
Step 5: Place Characters (Multiple Characters Only)
Section titled “Step 5: Place Characters (Multiple Characters Only)”Use Crowd Tools for easy placement:
- Paint Tool: Free-form brush placement
- Grid Tool: Structured grid placement
- Single Tool: Precise individual placement
Step 6: Control Animations
Section titled “Step 6: Control Animations”Configure animations through:
- Animation Control: Control animations with Single and AnimList modes
- Custom Animation Lists: Create custom animation behaviors
- Sequencer Integration: Cinematic control
Next Steps
Section titled “Next Steps”- VA Asset Collection: Manage your animation assets
- VA Asset Collection: Fine-tune asset settings
- Troubleshooting: Solve common issues